EN
EN

Micro Weighing Sensors in the Medical Device Industry: In-Depth Research
2026/08/19
Explore the role of micro weighing sensors in the medical device industry and their impact on precision and reliability.
2026/08/10

| System Type | Best For | Notes |
| Compression load cells (under legs) | Most silos with support legs | Most common; placed under each leg |
| Tension load cells (hanging) | Suspended/hanging silos | Mounted above the silo |
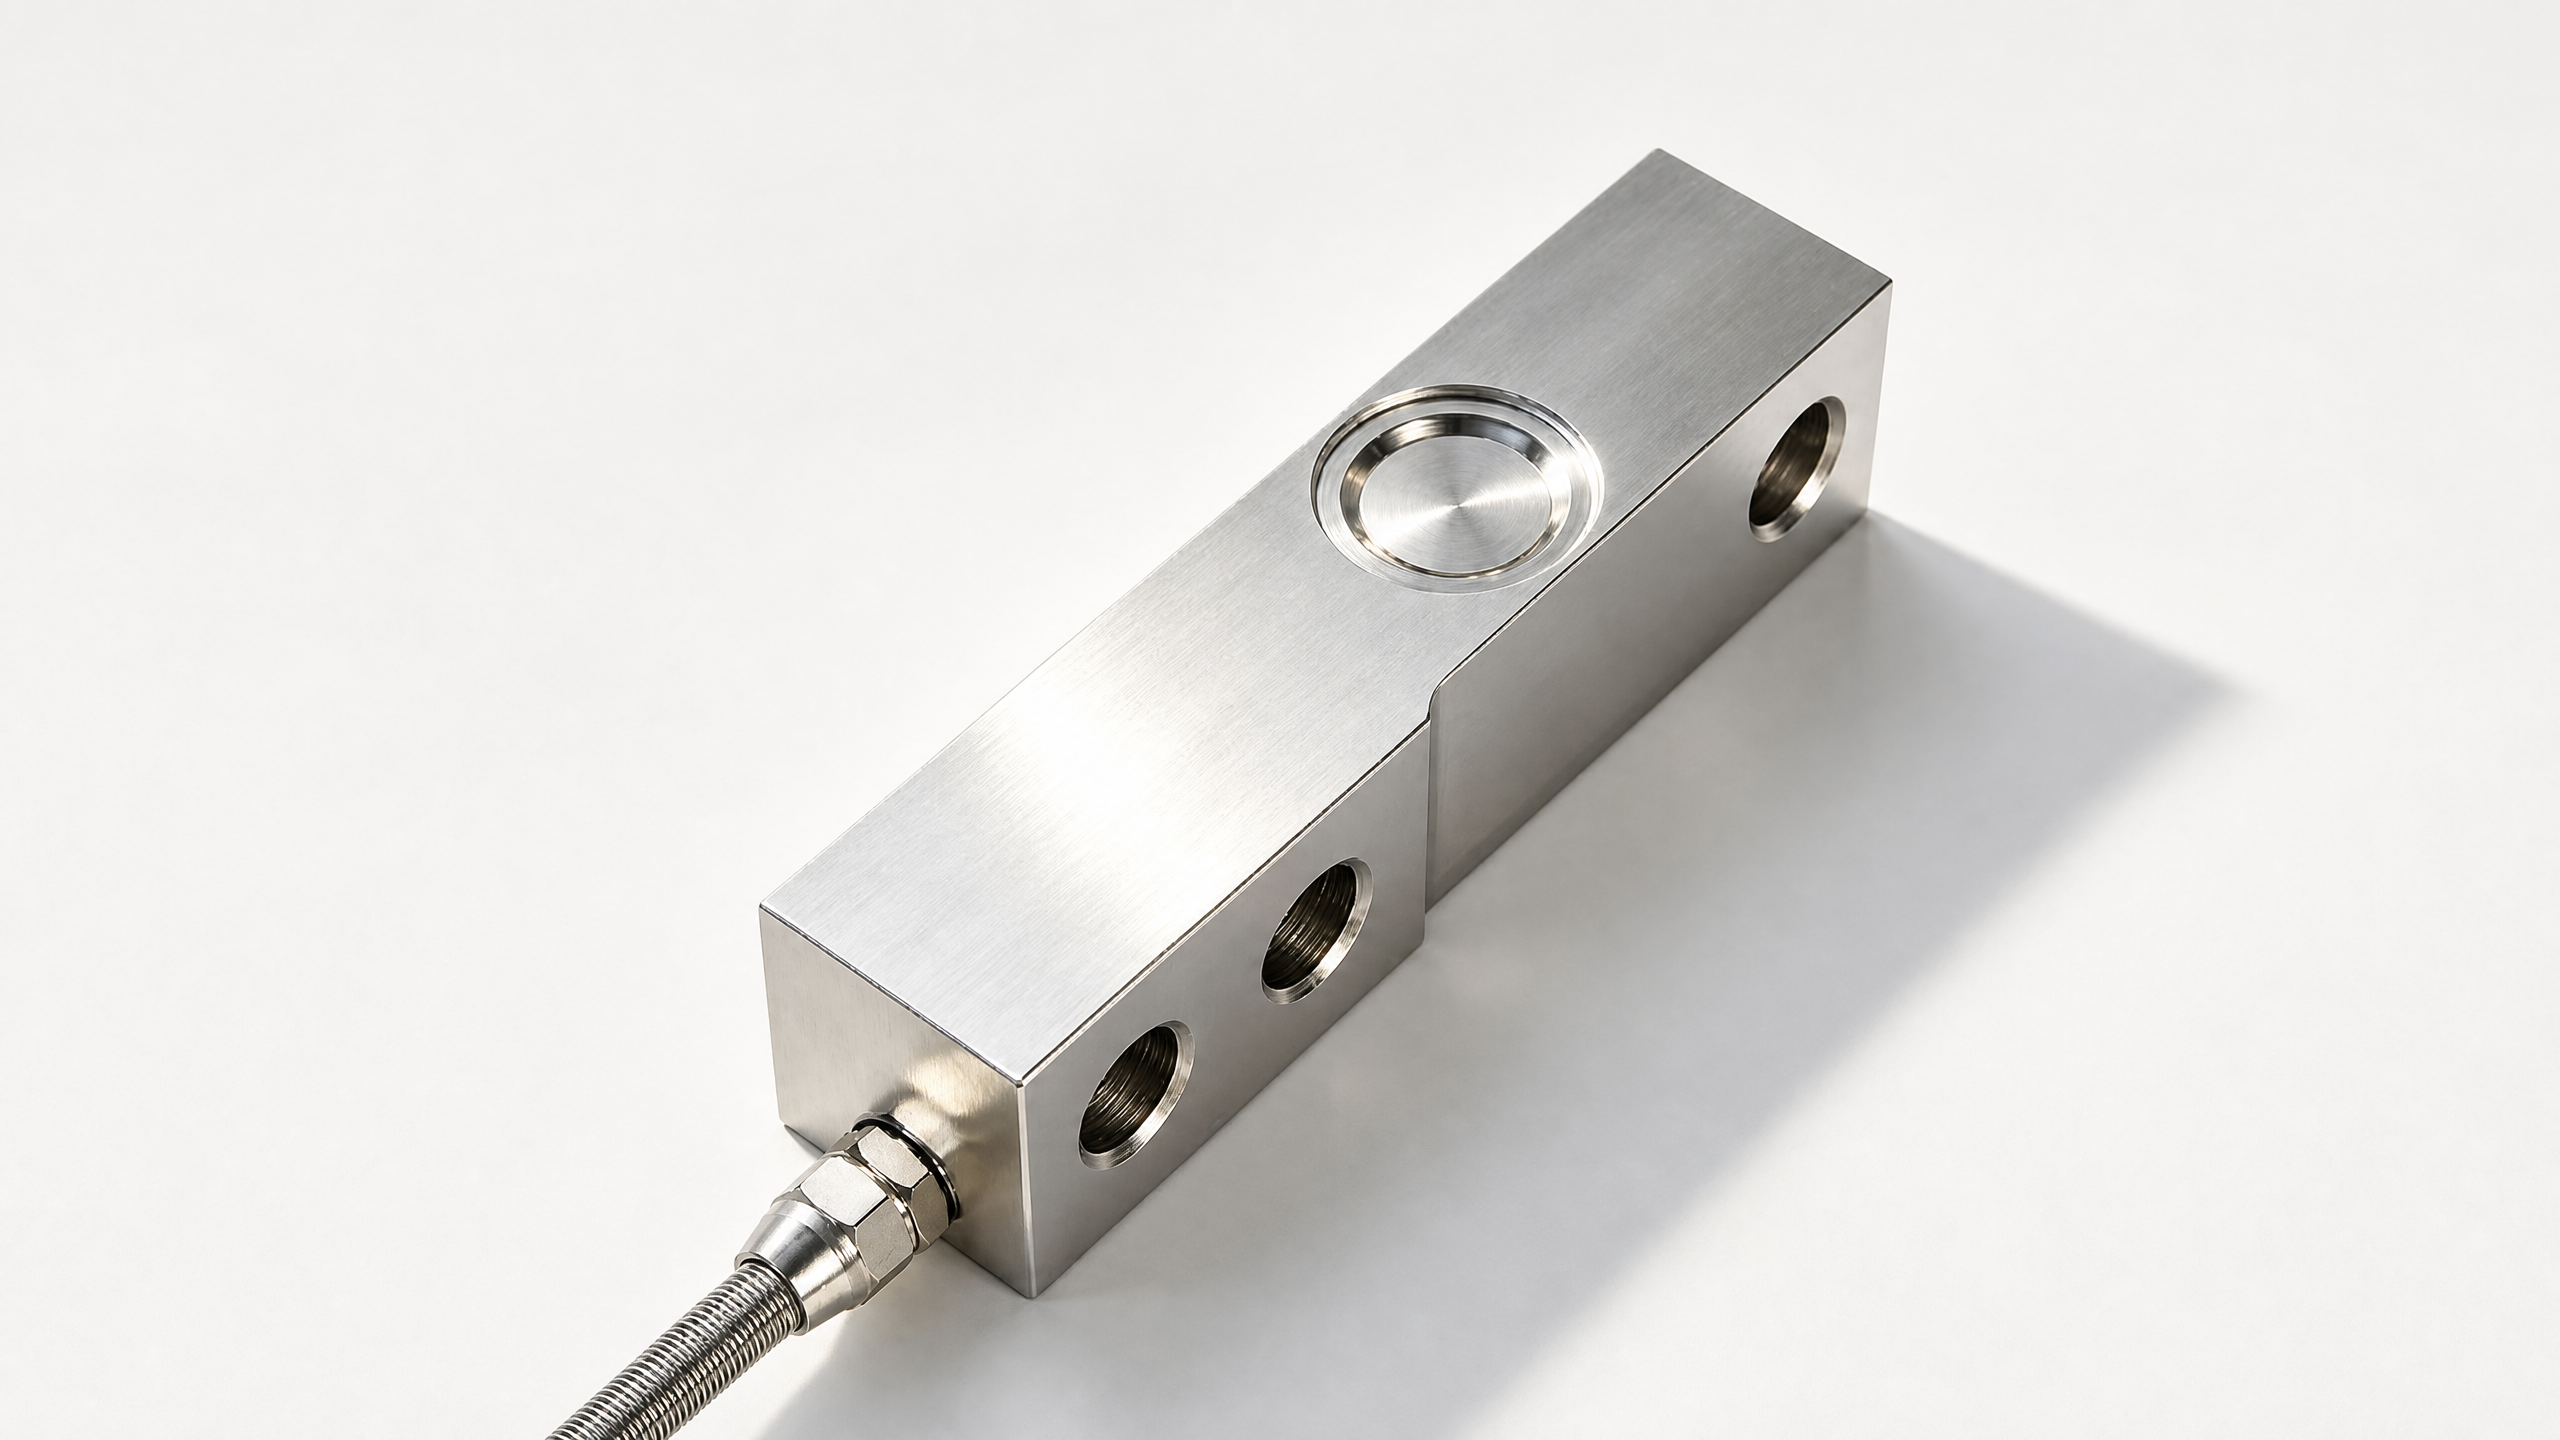
| Bending beam / shear beam | Smaller silos, low capacity | Bolted to support structure |
| Hydrostatic / pressure sensors | Liquid silos | Alternative, less accurate for solids |
Most solid-material silos use compression load cells mounted under the support legs (typically 3 or 4 cells).
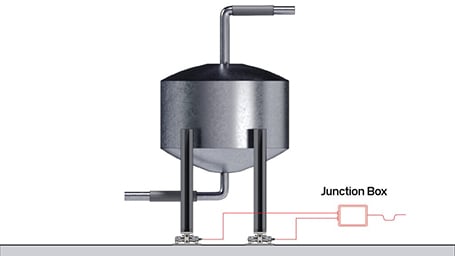
Calculate total weight: Max material weight + silo empty weight. Choose load cells with 125–150% overload capacity.
Determine number of cells: 3 legs = 3 cells (self-leveling); 4 legs = 4 cells (may need corner adjustment).
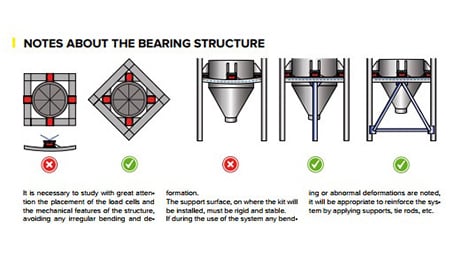
Check structural integrity: The foundation and legs must support the concentrated point loads. Reinforce if needed.
Plan for mounting hardware: Each cell needs a top plate (to silo leg) and bottom plate (to foundation), plus check rods / stay rods to resist lateral forces (wind, seismic, filling impact).
Step 1: Prepare the foundation
Ensure each mounting point is flat, level, and rigid.
Grind or shim so all load cell bases are within ±1 mm of the same plane.
Anchor bottom mounting plates securely to the concrete/steel foundation.
Step 2: Lift the silo
Use jacks or a crane to raise the silo just enough to slide the load cells under each leg.
Lift evenly to avoid frame distortion.
Step 3: Mount the load cells
Place each load cell centered on its bottom plate, aligned with the leg's centerline.
Attach the top mounting plate to the silo leg.
Ensure load is applied axially (vertically) — no side load or torsion.
Use self-aligning mounting kits (cup-and-ball or rocker pins) if available; they compensate for minor misalignment and thermal expansion.
Step 4: Install restraint hardware
Fit horizontal check rods / tie rods between the silo frame and fixed ground points.
These absorb wind, seismic, and material-flow lateral forces without carrying vertical load.
Leave rods slightly loose (follow manufacturer specs) so they don't shunt weight away from the cells.
Step 5: Wire the system
Run shielded cable from each cell to a junction box (summation box).
In the junction box, cells are wired in parallel; use trimming resistors for corner (corner-adjust) balancing.
Run a single cable from the junction box to the weight indicator / transmitter.
Keep cabling away from power lines; use conduit for protection. Ground the shield at one end only to avoid ground loops.
Step 6: Calibrate
Zero calibration: With the silo empty, set the indicator to zero (tare the empty silo weight).
Span calibration:
Best: use known test weights placed on the silo.
Alternative: material calibration — weigh a known quantity (e.g., a truckload) on a certified scale, then add it to the silo and set the span.
Some systems support theoretical (calculated) calibration using cell rated output, but it's less accurate. Perform corner adjustment if one cell reads differently under equal load.
Never weld on the silo structure with load cells installed — welding current can destroy strain gauges. Disconnect or remove cells first.
Protect cables from rodents, abrasion, and weather.
Allow for thermal expansion — use rocker mounts or slotted holes so the silo can expand/contract without side-loading the cells.
Avoid shock loading: Fill the silo gently; a free-falling material stream can generate dynamic overloads.
Regular maintenance: Check mounting bolts, rod tension, and cable condition; re-calibrate periodically (e.g., annually or after major maintenance).
| Symptom | Likely Cause | Fix |
| Drifting readings | Moisture in junction box / damaged cable | Seal box, replace cable |
| Inconsistent zero | Side load from binding check rods | Adjust rod clearance |
| Low accuracy | Uneven leg loading / poor corner trim | Re-level, re-trim junction box |
| No reading | Broken cell or open circuit | Test each cell with multimeter |
Safety Note
Silo weighing involves working under heavy suspended loads. Always follow lockout/tagout procedures, use proper lifting equipment, and have a qualified structural engineer verify the foundation and frame can support the concentrated loads before installation.

2026/08/19
Explore the role of micro weighing sensors in the medical device industry and their impact on precision and reliability.
2026/08/13
Learn about cantilever beam weighing sensors, their applications, and benefits in industrial settings.
Get in touch for customized load cell & linear sensor solutions, technical testing support, or global wholesale cooperation.
Tel
Address
No. 1 Tianfu Road, Zhanggong District, Ganzhou City, Jiangxi Province, China